3.Upgrading Tarmac and preparing it for further modifications.
When you have created your plain texture of tarmac we can upgrade it a little bit :)
Add a little bit of "life" to it.
You can click below to DOWNLOAD FREE tarmac texture.

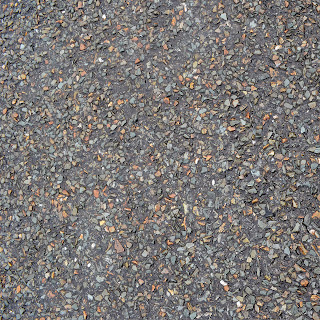
Open it in Photoshop and Copy and Paste to our plain texture of road.


Cover all of our plain picture and then select all layers by clicking on them while holding CTRL.
Right click on the layers and choose Convert To Smart Object. That option will allow you, if needed to go back to layer size without loosing its quality. I will describe Smart Objects in more details later on.

Change blending mode to Soft Light to create nice effect.

Add crack in the middle of the road and try to work on details a bit more with Erase Tool(E). Remember to set brush hardness to about 30%.

Adjust Brightness by adding Brightness&Contrast layer. To apply it only to one layer, right click on adjustment layer an choose Create Clipping Mask. Make sure that adjustment layer is above layer that you want to clip it to.

And there you have very nice texture of tarmac.


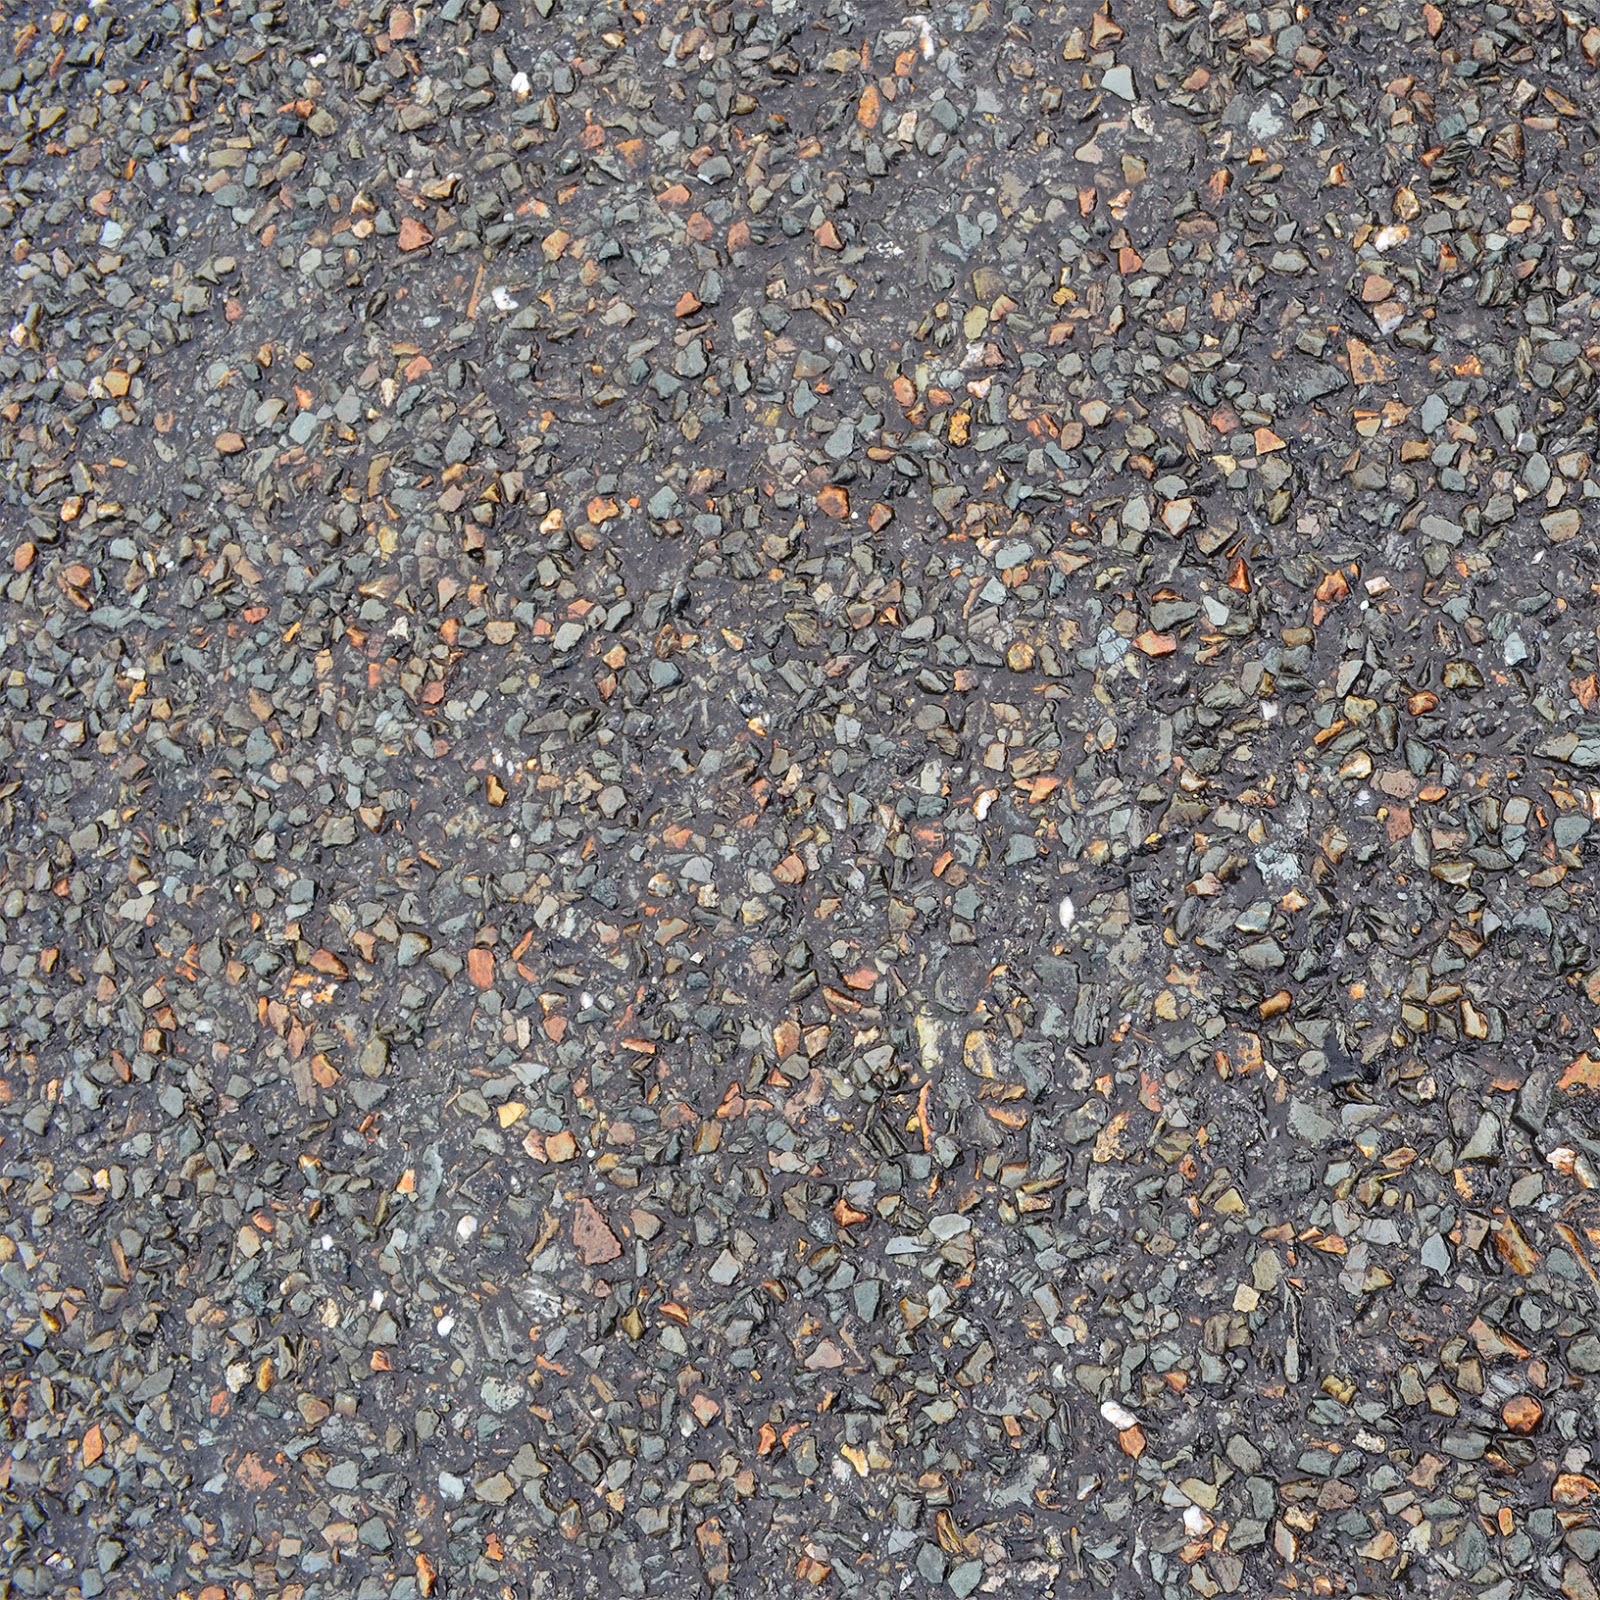
You can click below to DOWNLOAD FREE tarmac texture.

Change size of that image, by pressing CTRL+T and holding SHIFT to match grain size to one that you desire.
Holding the SHIFT key down forces the width-to-height aspect ratio of the selection to remain the same as you drag.
Choose Move Tool (V) and by holding ALT drag to create copy of chosen layer.
Cover all of our plain picture and then select all layers by clicking on them while holding CTRL.
Right click on the layers and choose Convert To Smart Object. That option will allow you, if needed to go back to layer size without loosing its quality. I will describe Smart Objects in more details later on.

Change blending mode to Soft Light to create nice effect.

Add crack in the middle of the road and try to work on details a bit more with Erase Tool(E). Remember to set brush hardness to about 30%.
You can click below to FREE DOWNLOAD my sample file of cracked tarmac.

Adjust Brightness by adding Brightness&Contrast layer. To apply it only to one layer, right click on adjustment layer an choose Create Clipping Mask. Make sure that adjustment layer is above layer that you want to clip it to.

And there you have very nice texture of tarmac.

If you have any questions don't hesitate to ask.

Hi, nice trick! - do you saw my tutorial about texture
ReplyDeletehttp://rallyguru-tracks.blogspot.com/2013/11/awesome-texture-making-trick.html
Yes I saw it. I'm recommending your blog on my wall. Big respect for your work and and for your team.
Delete